


CHARACTER & CREATURE DESIGN UNIT
UNIT BREAKDOWN
Activity 1: Drawing Glass Mannequins
Activity 2: Character Design
Activity 3: Anatomy & Creature Design -
Activity 3: Anatomy & Creature Design -
Activity 4: Character Line Up
one drawing every 2 days
Portfolio:
Cover:
-Reflect theme of Course
-Text "Character Design Unit"
Settings:
Creative Fields:
-Apply 3 project theme-related "Creative Fields"
Tags:
- 10 theme generated tags (use key concepts)
Project Description:
- "this is my concept art portfolio, character design unit"
Extra Information:
-Brand: Animation and SislerIDM
-Agency: Winnipeg School Division
-School: Sisler High School
Credits:
-Add the cast and crew with roles for the Group Story Project, but not for the StoryTelling Unit
Tools Used:
-Identify all tools used in this unit: i.e., Adobe Photoshop CS6, Adobe Draw, Behance, paper, pencils, light-table
Content:
-Embed all Unit components
-Title each activity
-Use the portfolio Text styles appropriately
-Use the portfolio Text styles appropriately
Shape Language
Character’s personality is a crucial part of creating engaging, believable and likable designs. It is not enough to have beautifully drafted character, but your audience should be able to relate to it and “connect”. Since the dawn of humanity, people memorize things by storytelling – we just love stories! So it is no wonder that we also look for the personality and the story behind characters as well.
Designers are more and more concerned of how to convey the personalities and the tale of the characters. And we don’t blame them, since it’s proven, that designs with a story and “character” get far more positive responses and engagement from the audience.
Back in 1946, Solomon Asch wrote a paper on how the impression of the physical appearance affects the impression of personality traits. In this article you will learn how artists mix different techniques up to create engaging characters using their physical appearance. Some of the most important tools they use are shape, variance and size. Get these down right, and your audience will easily relate to your designs, and … probably fall in love with them!
GESTURE DRAWINGS & GLASS MANNEQUIN ACTIVITY


Intent:
Glass Mannequin Hints!
- Be loose, not rigid in approach. Do not worry about getting right from the start. DRAW!
- Box out characters (like what Tom taught you)
- Use basic shapes for body parts
Gesture Drawing Hints!
- Gesture drawings are separate from a study drawing
- Gestures are best done with speed...draw quickly
- Start with line of action
- Remember the 3 main axis (Axis shift to support other axis).
- shoulders
- hips
- knees
Task:
Part 1 (Day 1)
step 1
- Copy and paste 5 characters from an animated film of you choice into photoshop
- add five evenly distributed ruler guides
- break character down into basic shapes on a new layer
step 2
- find three different actions performed by the same character
- copy and paste them into photoshop
- on a new layer use a red brush to capture the main line of action and the 3 axis
step 3
For step 3, begin each section by drawing 6-10 lines of action (in red) which reflects the provided theme.


Section 1 - On one page, draw 10 summarized gesture drawings (theme provided in class). Draw as much as possible, with as little as possible. Each drawing should take no more than 20 seconds.
- Use line of actions
- Use the 3 main axis
Section 2 - On one page, draw 10 summarized gesture drawings (theme provided in class). Draw as much as possible, with as little as possible. Each drawing should take no more than 20 seconds.
- Use line of actions
- Use the 3 main axis
Section 3 - On one page, draw 10 summarized gesture drawings (theme provided in class). Draw as much as possible, with as little as possible. Each drawing should take no more than 20 seconds.
- Use line of actions
- Use the 3 main axis
- Post all work in a gallery format on Behance
Part 2 (Day 1 & 2)
Section 1 - Complete the box it out activity completed on class with Tomas.
Section 2 - Pick one gesture drawing from each section of part 1 and box it out. Box it should make up approximately 80% of the height of the page.
- Post all work in a gallery format on Behance
Workfile:
https://adobe.ly/2AN3ldd
https://adobe.ly/2AN3ldd
Tom’s Workfile:
https://adobe.ly/2yJ5c1h
https://adobe.ly/2yJ5c1h
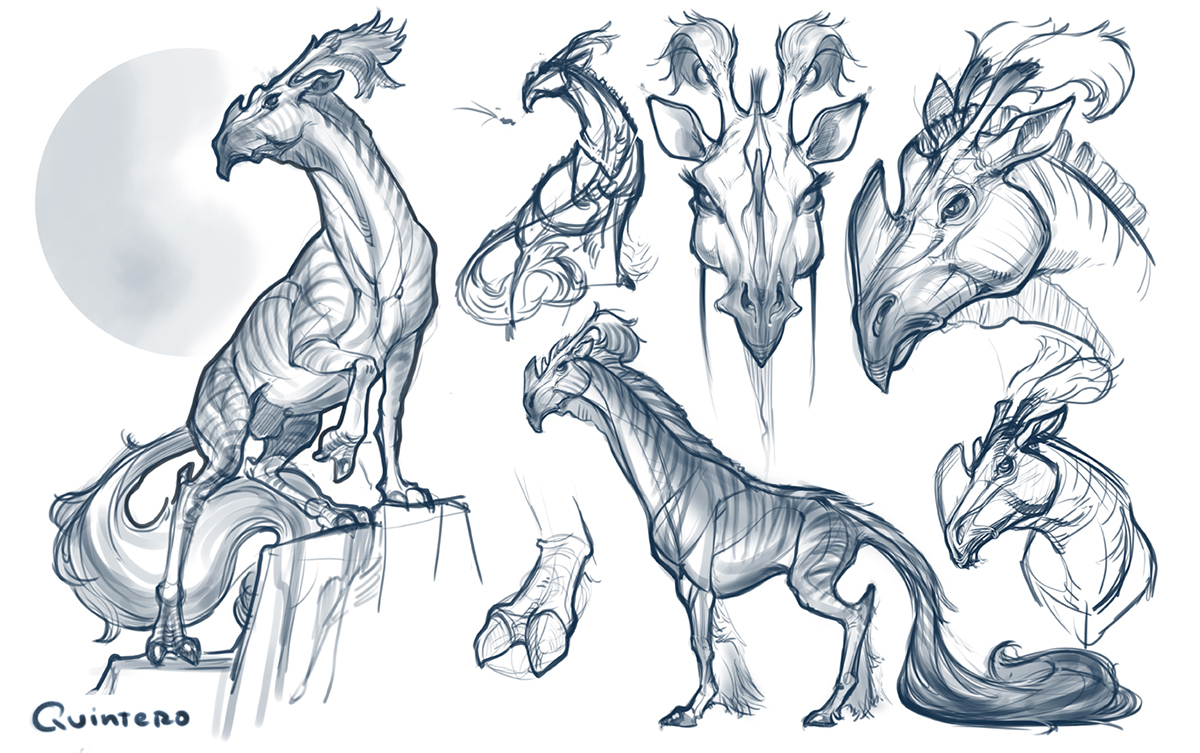
CREATURE & ANATOMY DESIGN ACTIVITY


Task:
DUE DATE: DECEMBER 19th
PART 1:
Students are to:
Sketchbook Activity
- Brainstorm responses
- Post responses to Behance Character Design Unit
Digital Activity
- Select two different real animals
- Create and post a "Reference slideshow" which includes the following:
1. Title Slide (your name, Concept Art Class, Creature Design Activity, your name)
2. Pitch your creature
3. Save 10-20 reference images showcasing:
- bone structure skeletons, organs, and muscle structure
- anatomy/muscle structure
- photos of animals from different angles
- close up photos of heads, feet, hands,
- Photos of skin/fur/scale textures
4. Select 4-5 key features from each animal to be used in your creature
5. Decide upon a creature name
- Post slide show to Behance Character Design Unit
PART 2:
- Design a creature which can stand on two legs,
- Sketch our your own creature study on one canvas,
- Include drawings side, front, head and your choice (may include close ups),
- Colour at least one of your drawings,
- Include name of creature, artist, and date on top left corner,
- Post work to Behance Character Design Unit
Research & Resources :


CHARACTER DESIGN ACTIVITY
Intent:
TIPS FOR DESIGNING A SUCCESSFUL CHARACTER
When a Pixar artist is designing a character there are a number of areas they explore to ensure a successful character design.
Research and evaluate
It can be helpful to try and deconstruct why certain characters and their characteristics work and why some don't. Study other characters and think about what makes some successful and what in particular you like about them.
Who is it aimed at?
Think about your audience. Characters aimed at young children, for example, are typically designed around basic shapes and bright colours.
Visual impact
Whether you're creating a monkey, robot or monster, you can guarantee there are going to be a hundred other similar creations out there. Your character needs to be strong and interesting in a visual sense to get people's attention.
Exaggerated characteristics
Exaggerating the defining features of your character will help it appear larger than life. Exaggerated features will also help viewers to identify the character's key qualities.
Colour
Colours can help communicate a character's personality. Typically, dark colours such as black, purples and greys depict baddies with malevolent intentions. Light colours such as white, blues, pinks and yellows express innocence, good and purity.
Conveying personality
Interesting looks alone do not necessarily make for a good character; its personality is key as well. A character's personality can be revealed through animations, where we see how it reacts to certain situations. The personality of your character doesn't have to be particularly agreeable, but it does need to be interesting (unless your characters is purposely dull).
Express yourself
Expressions showing a character's range of emotions and depicting its ups and downs will further flesh out your character. Depending on its personality, a figure's emotions might be muted and wry or explosive and wildly exaggerated.
Goals and dreams
The driving force behind a character's personality is what it wants to achieve. TOften the incompleteness or flaws in a character are what make it interesting.
Building back stories
If you're planning for your character to exist within comics and animations then developing its back story is important. Where it comes from, how it came to exist and any life-changing events it has experienced are going to help back up the solidity of, and subsequent belief in, your character. Sometimes the telling of a character's back story can be more interesting than the character's present adventures.
Beyond the character
In the same way that you create a history for your character, you need to create an environment for it to help further cement believability in your creation. The world in which the character lives and interacts should in some way make sense to who the character is and what it gets up to.
Fine-tuning a figure
Question each element of your creation, especially things such as its facial features. The slightest alteration can have a great effect on how your character is perceived.
Task:
Section 1 - Design a character for you previous unit story. Be sure to follow the Pixar steps (above). Use between 8-15 reference photos. Add personality to the character.
Section 2 - Once you've chosen a character you want to use, draw them in a front, three-quarter and side and back profile view. You should choose a pose that conveys your character's personality. For example, if your character is shy, you could draw them slightly hunched over, with their knees bent and pigeon-toed, as if they're trying to hide themselves from the outside world. Design a character turnaround sheet for your character. It is recommended that you use the character turnaround sheet provided turnaround sheet (or use the ruler mode in photoshop. Draw only 4 instances of the character - Front, 3/4 front, side, and back.
TEMPLATES:

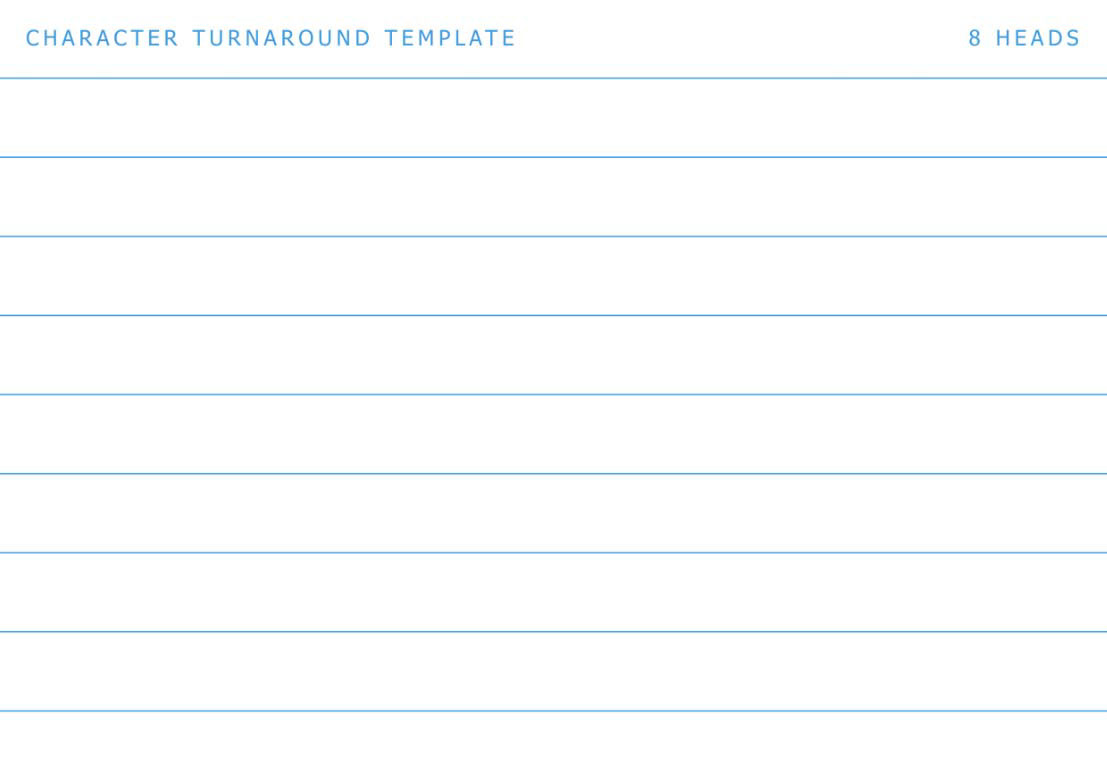
Examples:


CHARACTER LINE-UP ACTIVITY


ONLINE UNIT RESOURCES


