

Logo Construction Grid Tutorial
Hello, this is more of a lesson for those who are new to logo design with the help of logo grids in Adobe Illustrator. Here, I'm attempting to teach how to work with a logo grid and how to create a logo presentation that includes step-by-step construction directions, as shown in the images below:

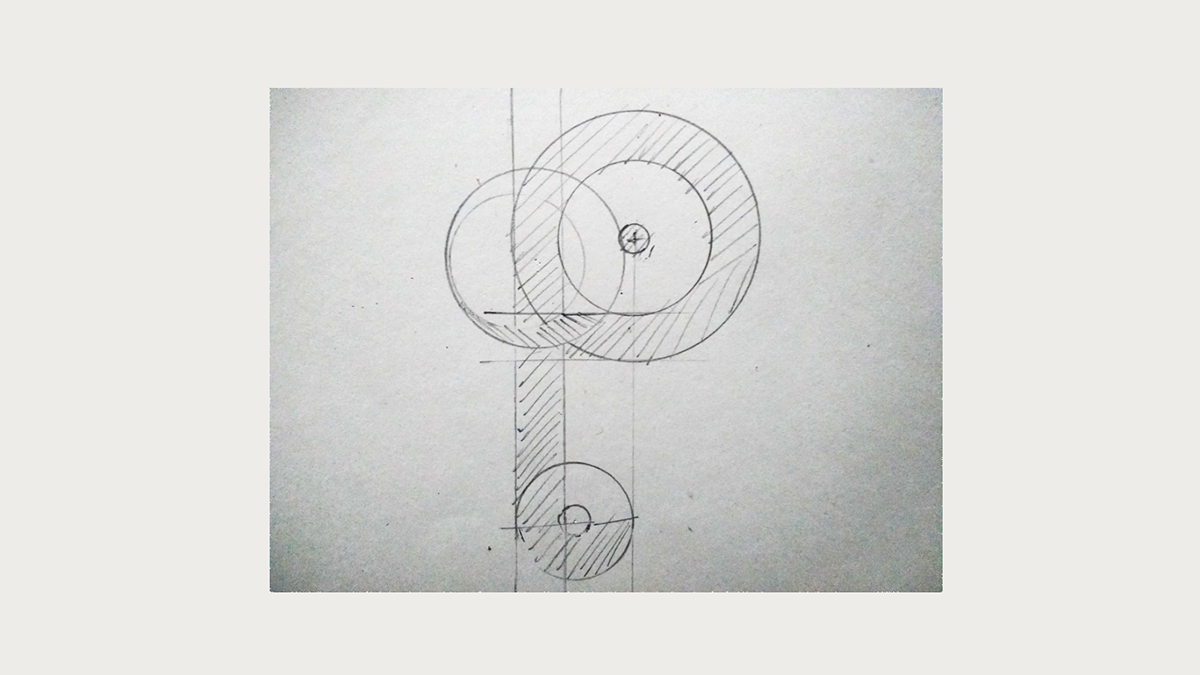
Step 1 - First and foremost, for any logo job, you should have a decent design in mind with a brilliant concept, and then generate at least 10-15 sketches, experimenting with many variations before deciding on the finest one to work with. Here's an example of one of my works in which I attempted to combine the letter P with the elephant symbol. Because I'm not very good at drawing, I'm only going to share one sketch that I drew specifically for this class.
Step 2 : Import your sketch into Illustrator and give it the name "Rough Sketch" before locking it.

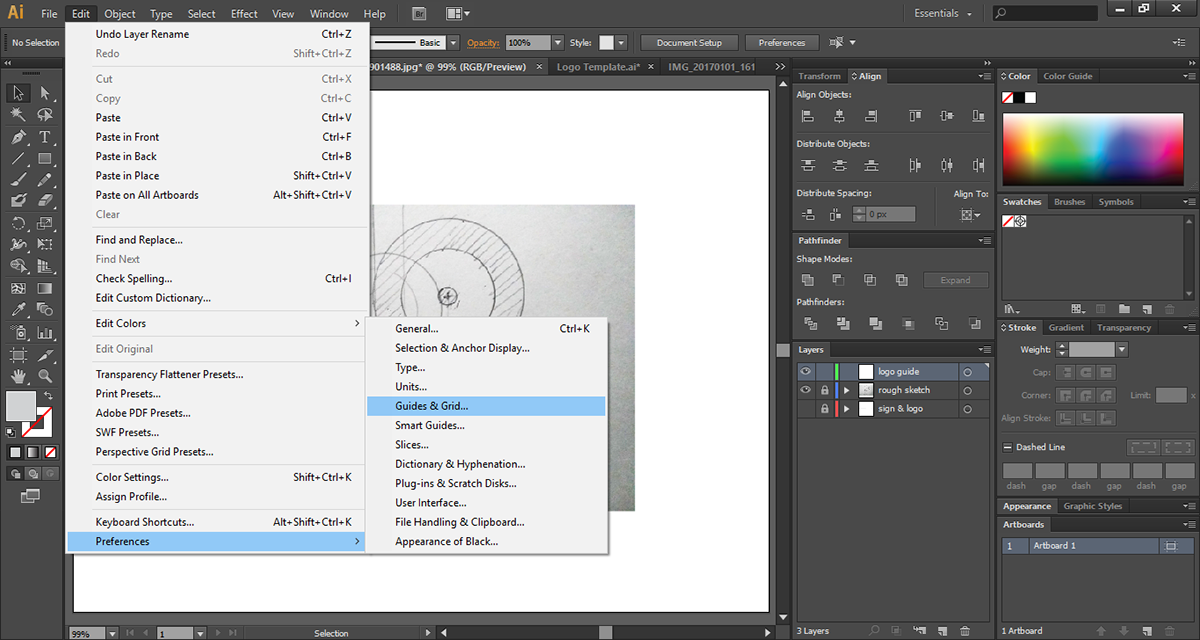
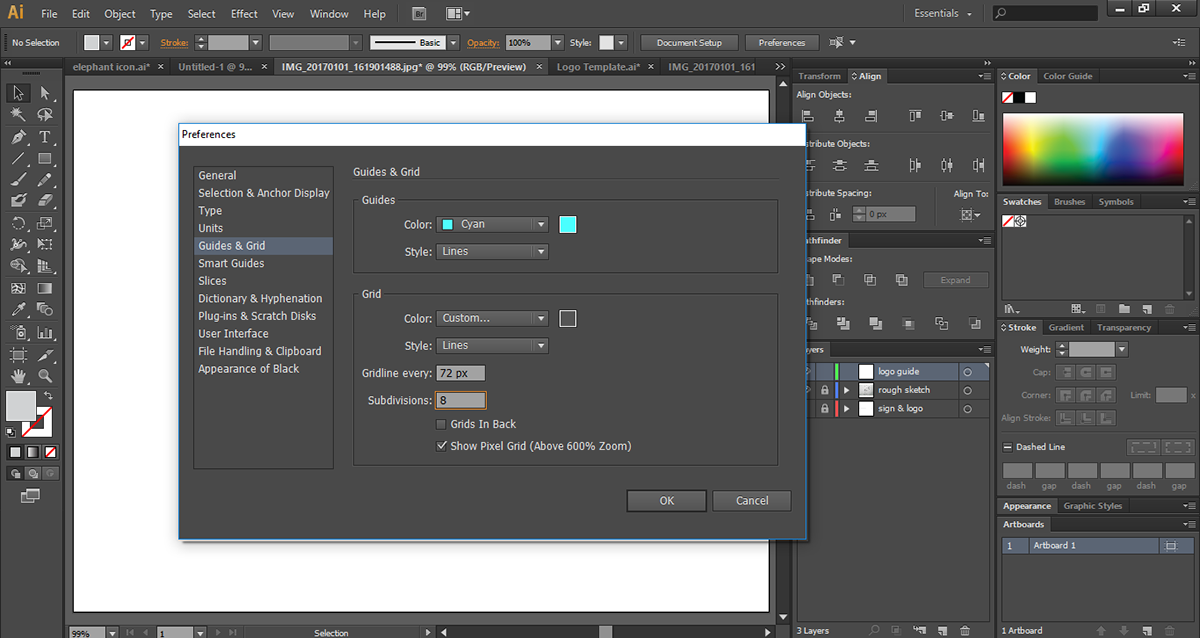
Step 3 : Make a new layer on top of it and call it "Logo Guides." Before you start doing anything, decide on the grid size you wish to use. I normally work with a grid of 8x8 pixels. You can adjust the size of your grid by heading to Edit > Preferences > Guides & Grid and changing the subdivisions. The size of your grid is determined by the complexity of your design. More subdivisions will be required in a complex design.
Step 4 : Go to View > Snap to grid to enable the Snap to grid option, and View > Show grid to enable the Show grid option.
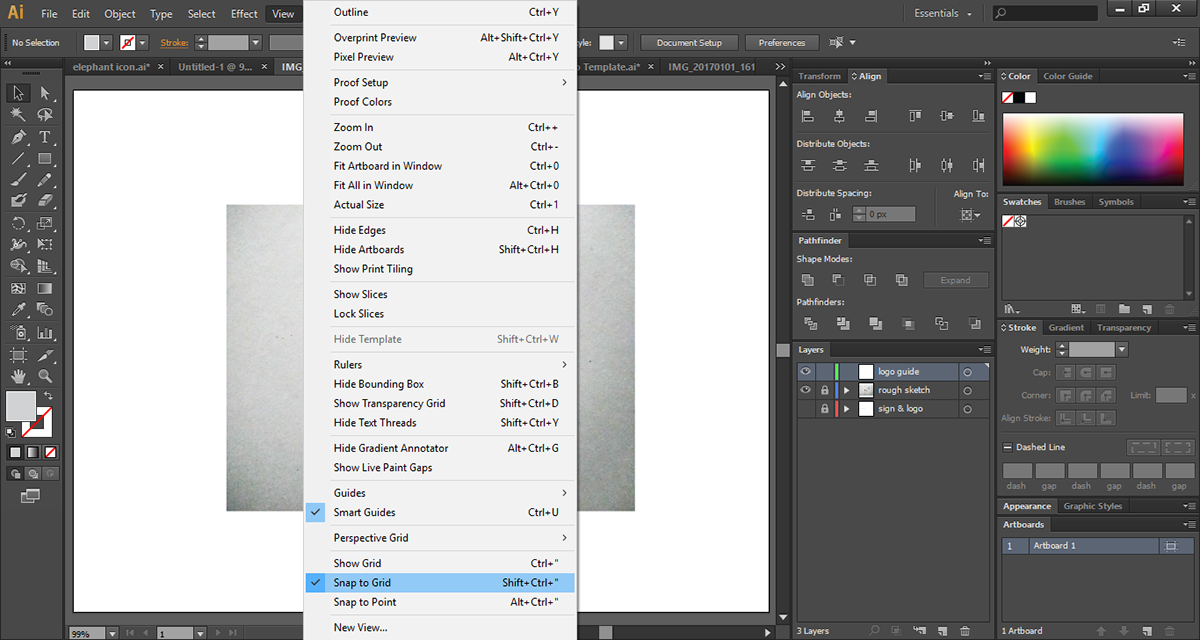
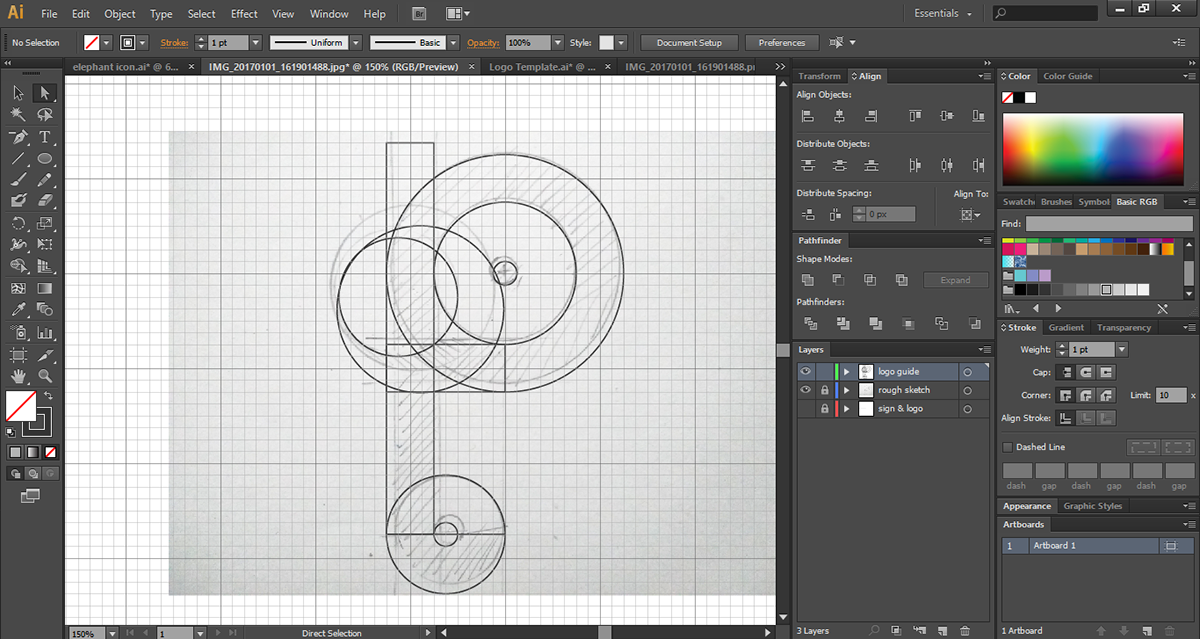
This is how your workspace will now appear.

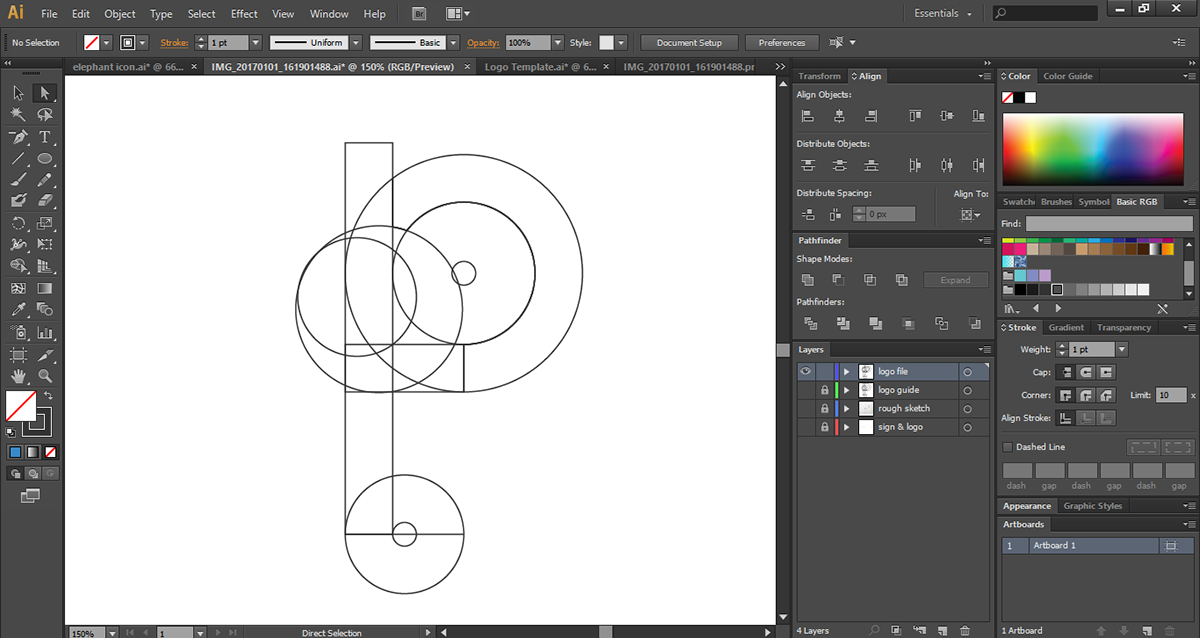
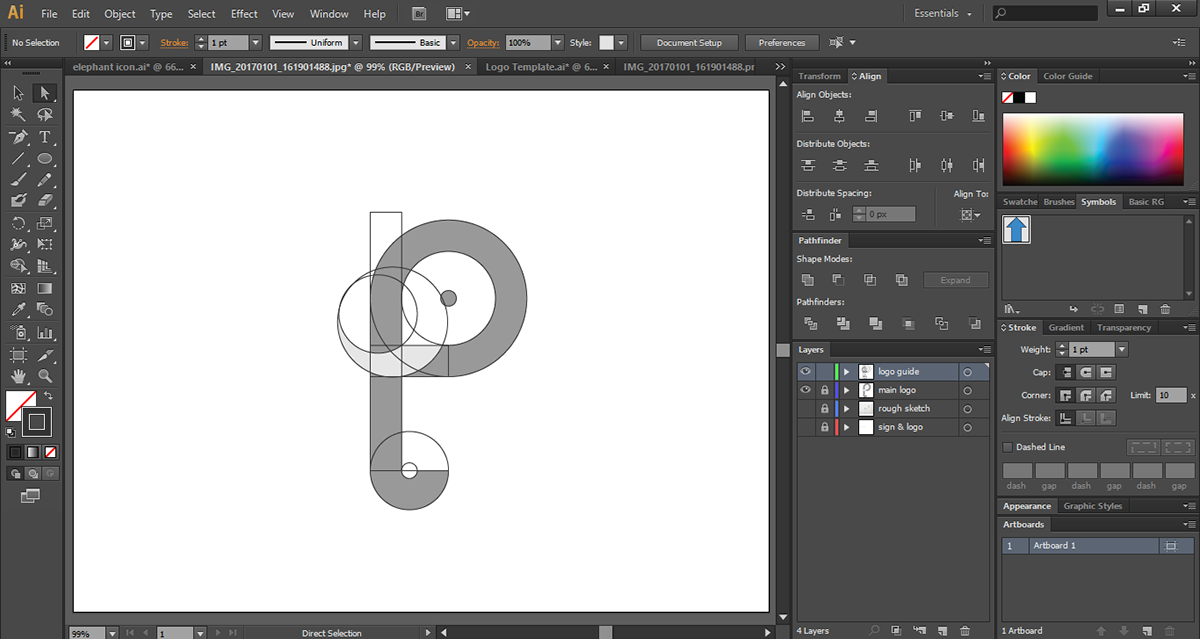
Step 5 : Select the "Logo Guide" layer and draw the outline of the logo by snipping to grid with a 1pt stroke (stroke thickness depending on you) and no fill colour. It's critical to make good contact and cut throughout this phase since it'll help you form a shape with the Shape Builder Tool in the next step. After you've finished, your design should look like this.
Step 6 : Turn off the Show grid and Snap to grid options after drawing the outline, and then create a new layer on top of it called "Logo File." On the new layer you created, copy the logo's outline. Ctrl + A (Selection) > Ctrl + C (Copy) > Ctrl + F (Finishing) (Paste) I always copy with Ctrl + F rather than Ctrl + V because Ctrl + F pastes the file exactly over it with no mismatch, but Ctrl + V pastes the file randomly on the work space. Turn off the "Logo Guide" layer after pasting the design over the "Logo File" layer. This is how it will seem.
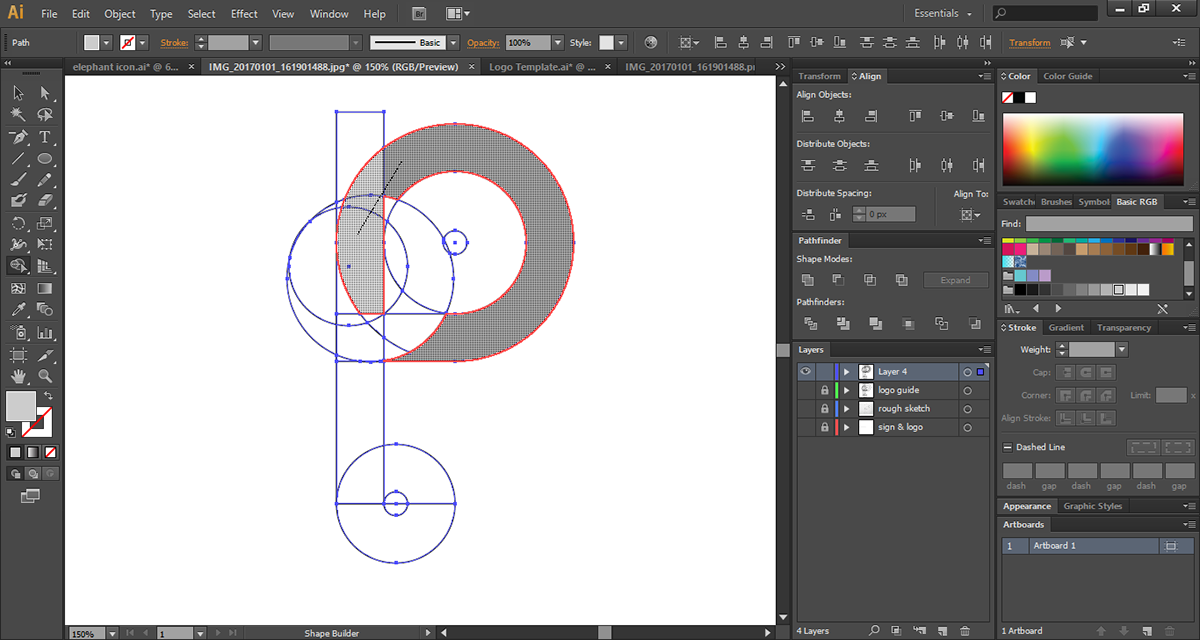
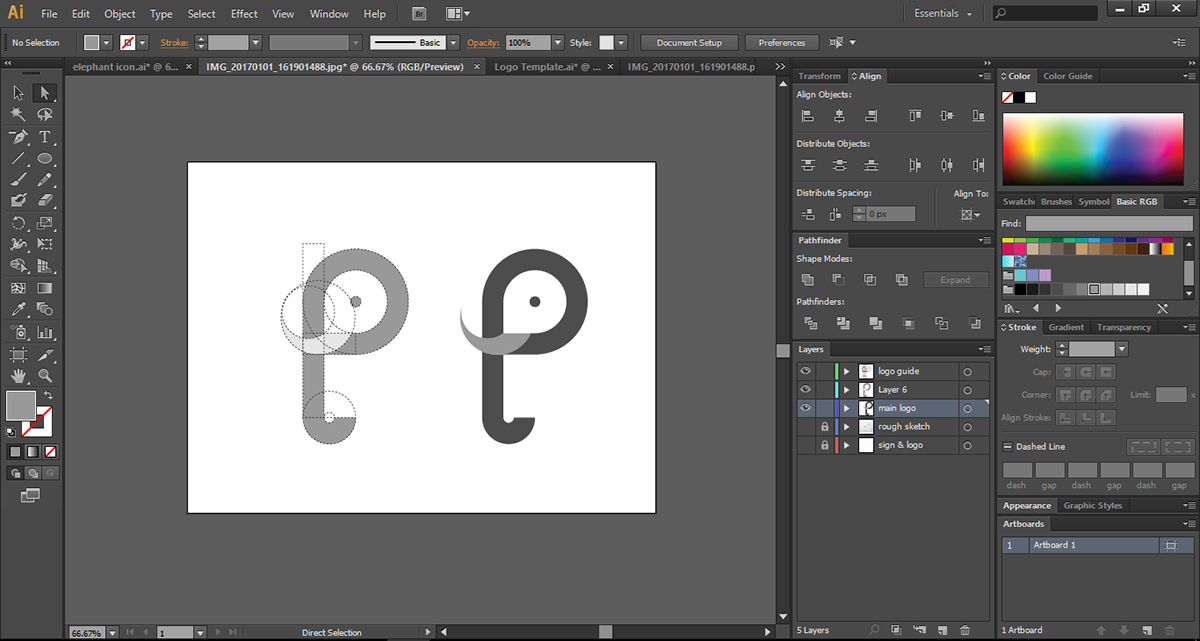
Step 7 : Now press Ctrl + A to choose the design, and then select the Shape Builder Tool from the toolbar. Choose a fill colour with no stroke and start filling only the region that will be part of your final logo by dragging the arrow over it (it will show + sign with arrow), then hit Alt while dragging over it to eliminate the undesirable portion (It will show minus sign with arrow). In the graphic below, I've shown:
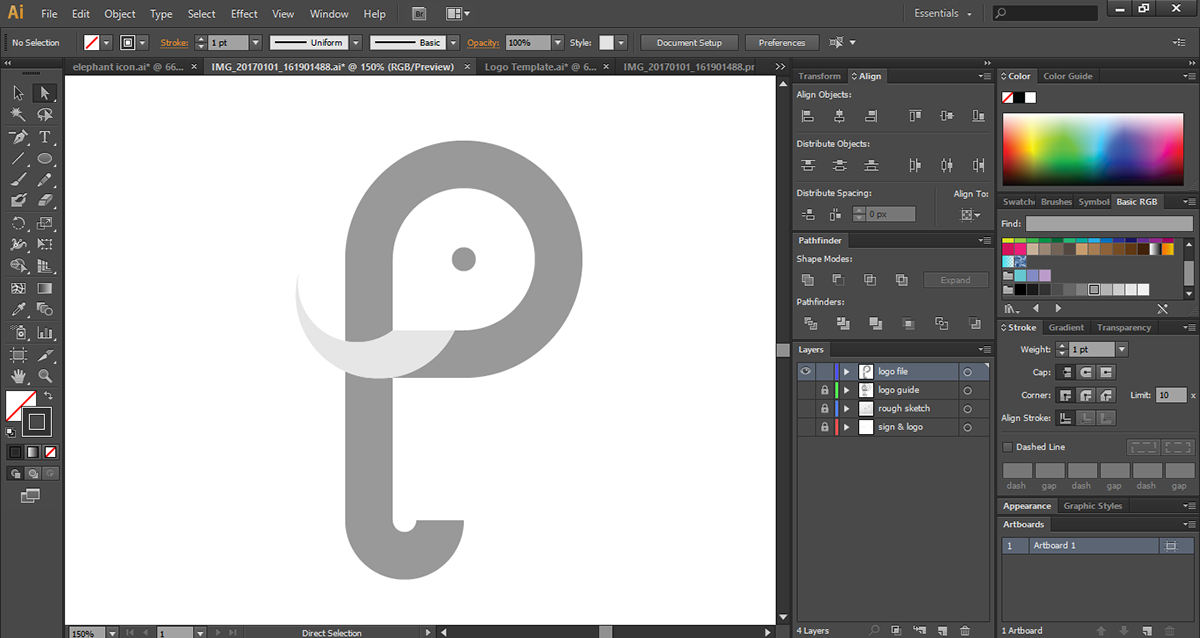
You will get your design after finishing this step. Later on, you can play about with the colour.
Step 8 : Now drag "Logo File" layer below the "Logo Guide" layer. You can make extra copy also of this layer to experiment with design.
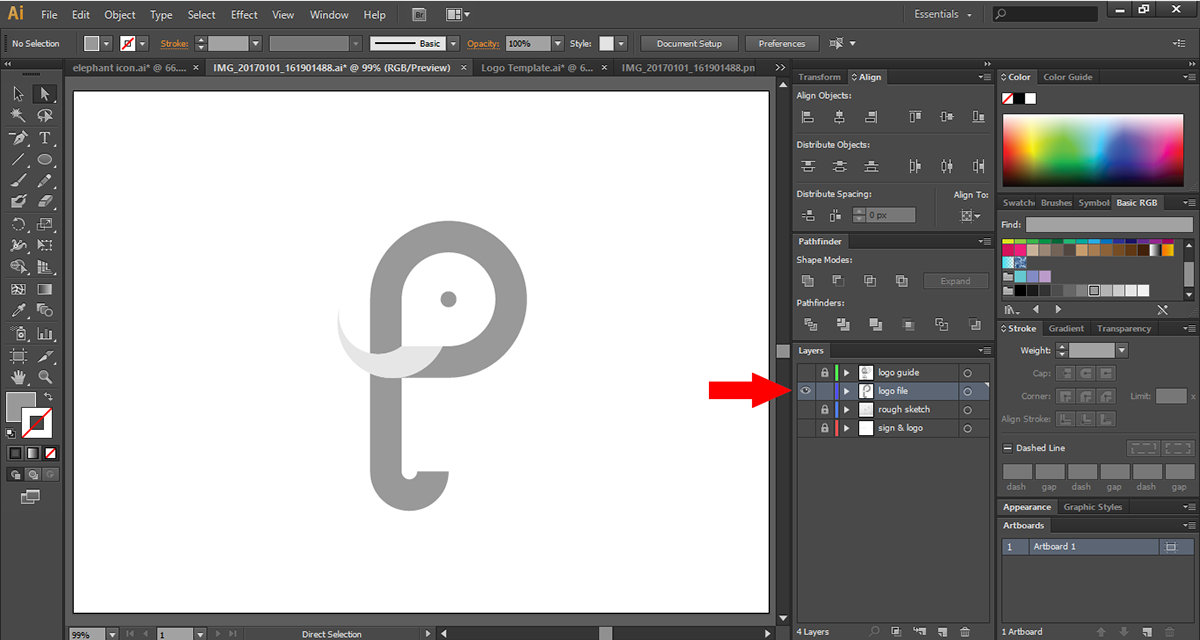
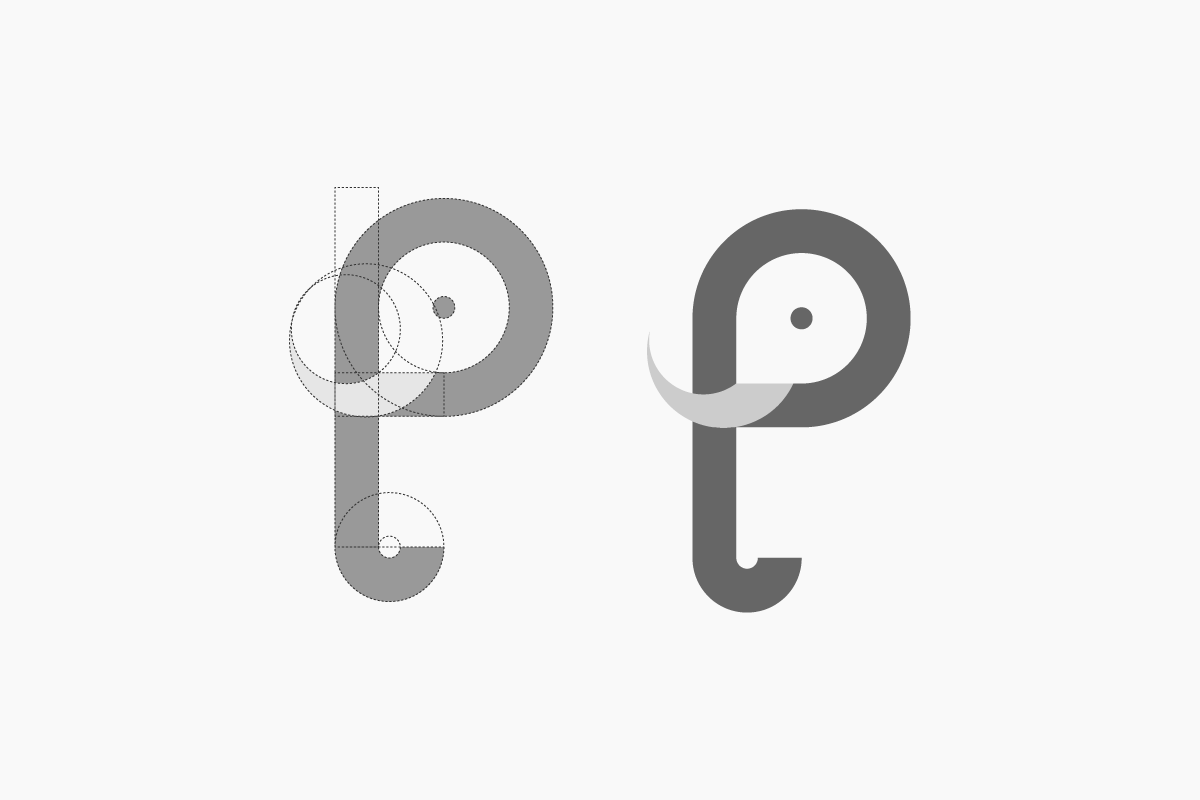
Step 9 : Activate the "Logo Guide" Layer now. This is how your design will appear. You can customise the construction guide's style, colour, opacity, and thickness.
If you want the dotted logo guides, change the stroke to a dashed line in the Stroke panel and save the file in the JPEG or PNG format you wish.

Now you're ready to display your logo creation tips to the rest of the world and share your design.
Thank you for taking the time to watch this. For any work, please contact me directly at cullenx.art@gmail.com
Check my website: https://dbuniverse.co/