

In my second portrait of Briana London, this is the smart phone selfie photo that I used as my reference in the project.

In my workflow, I start by outlining the facial features with yellow paths with the pencil tool in Adobe Illustrator CC.

After the outline stage, I start by adding in a base color, with several gradients. On top of the gradients,
I begin to paint in the face with the bristle brush tool, with various brush tip sizes and opacity settings.
I always duplicate my reference photo and slide it off into the margin when I work.

In stage two, I have painted in the shadowing of the eyes, and started the lips.
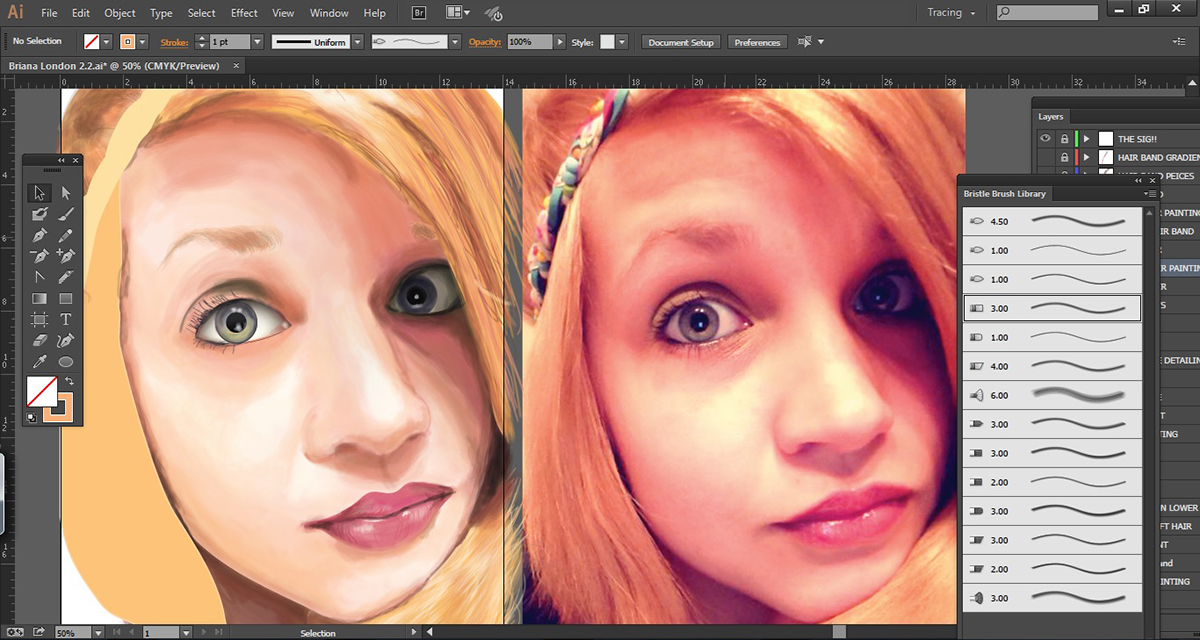
Into stage three, I give a great deal of time with the eyes themselves. This particular project, both eyes are
different being that one is in the shadows, and the other in the light. I have also begun the eye brows and hair on her left side.

After her left side hair sections, I move on to her right side hair, and repeat my process, with a few shading addjustments.

Nearing the end, I have just about all of her hair and other details painted in. Did you notice the hair band?

Briana London 2 completed in Adobe illustrator. Tap that blue thumbs up button to appreciate the project!


