

For my portrait for Briana London, this is my photo reference selfie of Briana I used for while working in Adobe Illustrator CC.

In my workflow process, I always start out with doing contour lines from my reference photo. I like to use yellow as a guide color - I completely draw out all contours in yellow. I use yellow, being that it tends to stand out better than other colors. Like the other portraits I have done, I will fill in the various shapes and elements with radial gradients.

Here, in my second stage, I begin to overlap radial gradients to start Briana’s portrait.

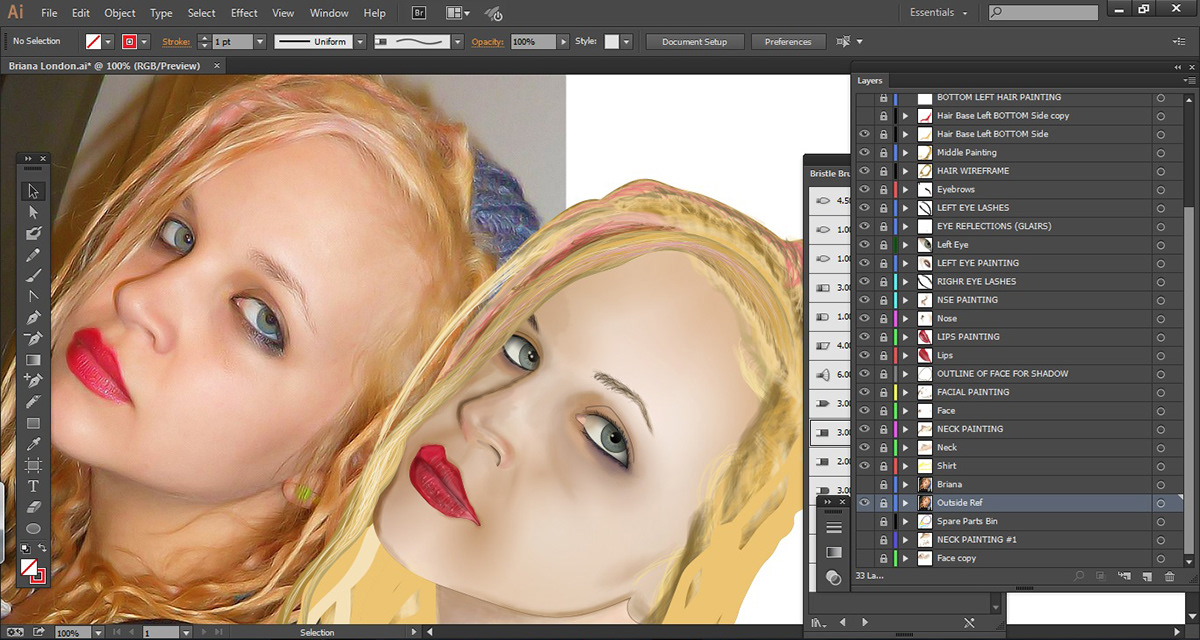
In stage three, I have branched off and colored in Briana’s eyes, nose and lips. I have now started the painting process, with the bristle brush tool, and the various brush presets.

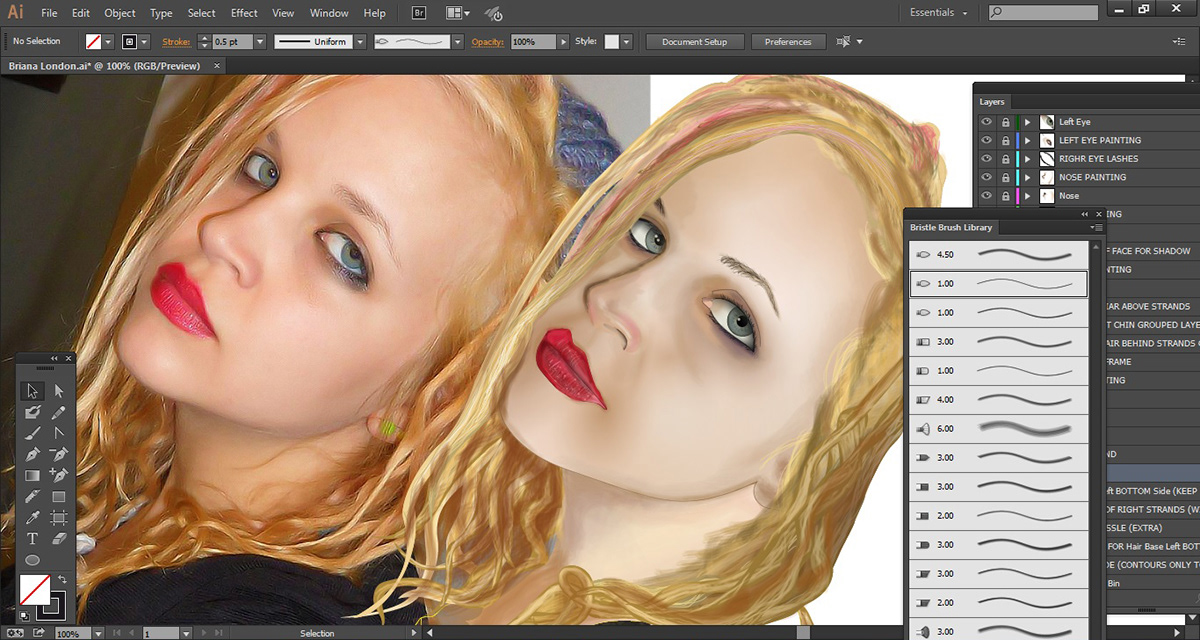
Well into the detail, in stage four I have completed her eyebrows, lips, and nose with detail. After the facial detail is completed, I change gears, and begin working on her hair.
For stage five, I have painted in the majority of her hair, and pink highlights and various shades of yellow and blonde strands of hair.

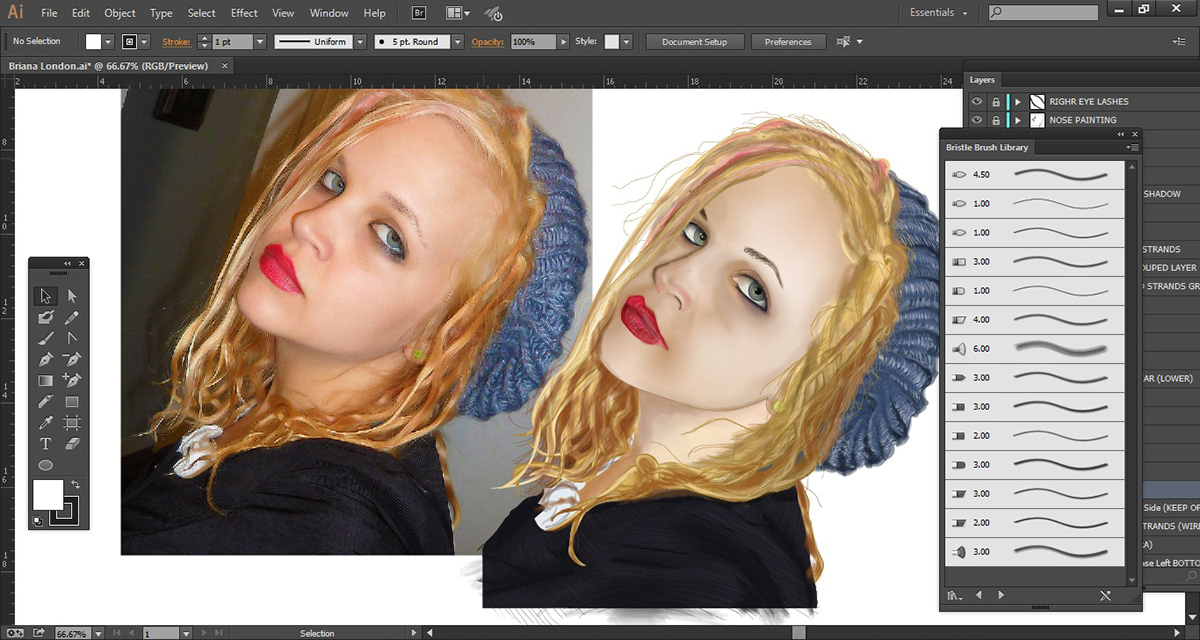
Stage six is for more hair detail. I further refine my process, and continue with greater detail with the hair. I have also painted in her neck, and the shades and shadows.
Here in stage seven, I complete her hair, with more shades and shadows on both her right and left shoulder sides.

Stage eight is all about that blue beanie. I returned to the yellow contours I had much earlier, and colored in the beanie. Afterwards, I repeated the brush process, with the bristle brush, and also used the blob brush tool for some of the darker and lighter shades of the beanie.
For stage nine, I color and shade in her outfit with different tones of gray with the brush tool.

The final product: Briana London’s portrait completed in Adobe Illustrator CC.


